Friday, June 28, 2013

Beautiful Backlight

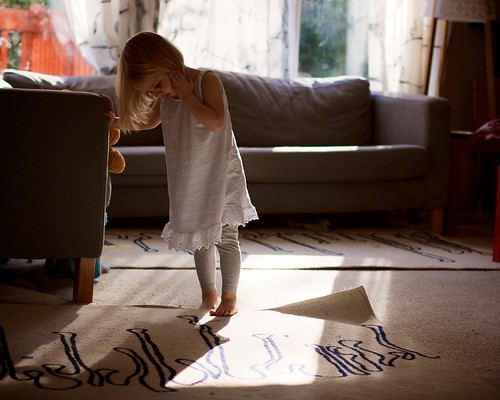
We have been having some lovely weather here.  Really lovely.  It hasn't been too warm to enjoy being outdoors.  One of my favorite things about summer is how late it stays light.  So, the other night, Little Miss and I headed out after dinner to soak in the golden hour

We have one of the most lovely parks nearby that has a stream flowing through it and it's been left mostly natural.  I can spend the entire summer there.  The way the light filters through the trees is breathtaking, especially in the evening.

Summer Sunflare

Summer Sunflare

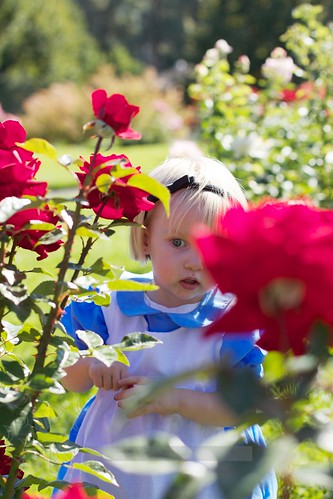
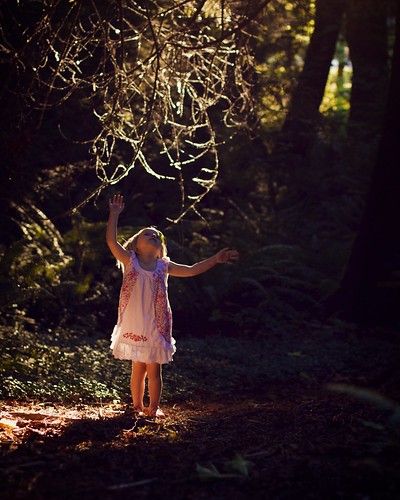
Little Miss told me she felt like a fairy.  I sure think she looked like one.  I love the way these photos turned out.  I love back light so very very much.  It inspires me to take photos.

Summer Sunflare

We played in the creek for a while before it was time to go up into the clearing for some golden hour photos.  Much as I love golden hour, backlight, just about any time of day is my favorite.

Look, lensflare!
I love how she's pointing at the lens flare in this one.

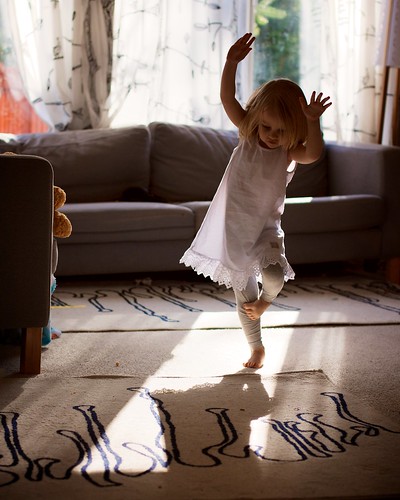
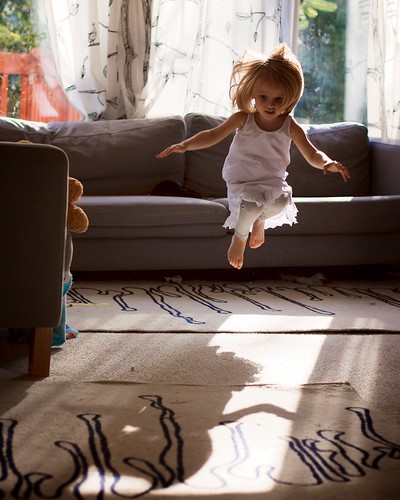
While we are on the subject of backlight, here are a few from this winter.  I took these on a rare sunny day this February.  It had been so long since Miss had seen her shadow that she played with it for quite some time, allowing me to get these photos, which are favorites of mine.

Shadow Dance

Shadow Dance

Shadow Dance

Tuesday, June 25, 2013

A Simple Dress

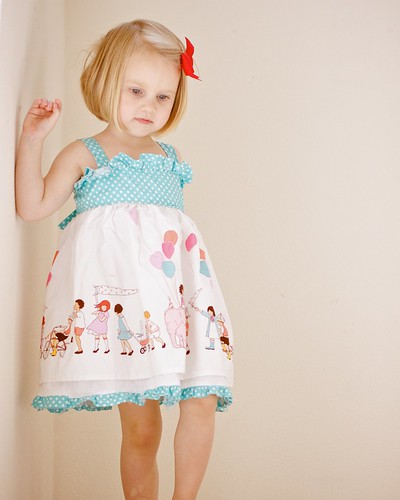
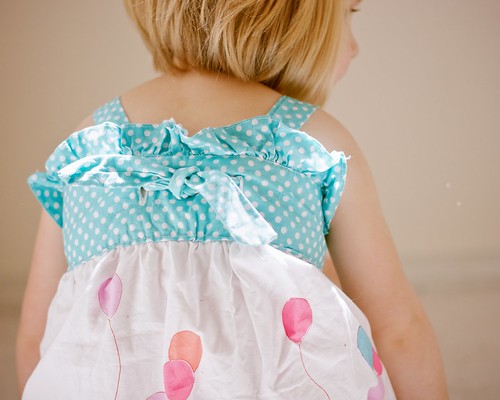
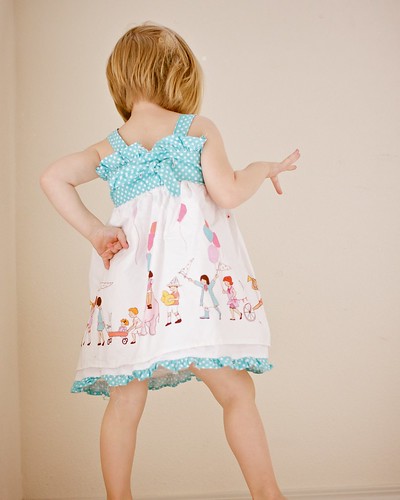
Sarah Jane's fabrics are always inspiring and so perfect for children.  The simple pattern on her Children at Play On Parade fabric is perfect for a dress or skirt.  I wanted something simple so that it wouldn't take away from the fabric.  It's such a beautiful piece of art that I wanted to let it shine.

I actually made this last summer and it was only the fourth dress I'd made.  It ended up being ridiculously big somehow.  I seem to fail at measuring.  Good news, though, it fits her great this year :)

This dress was even more simple than the Persnickety knockoff.  Just rectangles and no pintucks. Granted, there were quite a few gathers, but nothing like the petticoat I made for her Alice costume a couple of years ago!

Simple Ruffle Dress
The skirt is fully lined and I added a matching ruffle to the lining to help balance the whole thing.

Simple Ruffle Dress
It closes with a knot in the back.  I made two button holes and just threaded the straps through after making sure they were long enough to tie together.

Simple Ruffle Dress
Please excuse the stray thread.  I only just noticed it.  Where do these strays come from?  I can spend an hour trimming threads and somehow, they just keep showing up.  It's like there is some strange thread breeding ground in the closet.  This even happens to my store bought clothing some time.

Friday, June 21, 2013

First Sleeves for Little Alice

Alice 1

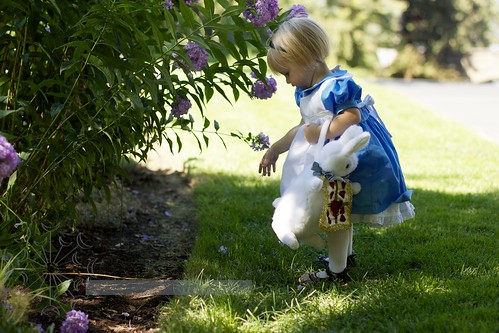
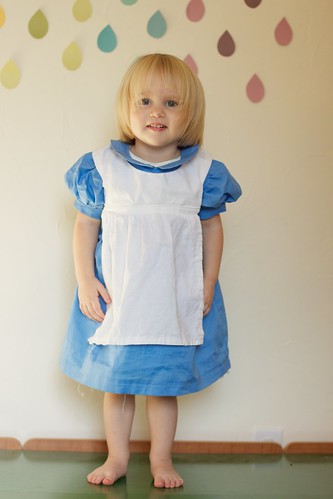
I decided to finally tackle sleeves when I decided that Little Miss would make a perfect tiny Alice for her second Halloween.  At that point she was watching Alice in Wonderland on repeat, all day if I'd let her.  Sleeves were one of those things I'd just have to learn to do if an Alice costume was to be made.

Drafting a basic bodice and straps is easy enough, but I could not wrap my brain around sleeves.  I searched for the right pattern and settled on Carla's Precious Dress.  The sleeve seemed to have the right amount of puff and the peter pan collar was perfect (who doesn't love a peter pan collar?).

This pattern was perfect for a beginner like me.  It was straight forward, had a ton of pictures and explained everything in great detail.  The need to rip out and resew every seam had nothing to do with the pattern, but all to do with my inability to pay attention and repeatedly sewing things wrong sides together even though I'd double checked *sigh*.  All in all, the process went quit smoothly and I was more than happy with the finished product :)

Of course, a proper Alice needs a very full petticoat.  So, I ruffled and sewed 280 inches of ruffles in layers to make one.  I had some eyelet trim that I'd bought for some crazy cheap amount that I used on the bottom to add a little something to it.  I have used that eyelet trim on so many things since and I've used it all up now.  I'm on the lookout for more.

homemade 7
That was a labor of love!

I drafted a pattern for the apron as well.  The one included in the pattern was merely sewn in at the waist and wasn't a proper pinafore and I'm kind of insane about authenticity when it comes to my costumes LOL.

homemade 6

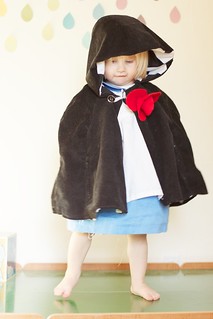
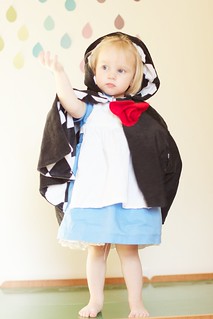
Of course, it's very cold on Halloween in the Northwest so she needed something warm to go over it.  I think it's such a shame when someone spends so much time and energy on a costume only to cover it with a puffy coat.  I decided to she needed a cape.  The cape is made out of heavy corduroy and lined in black and white harlequin minky.  This puppy is WARM and so soft.  My daughter has worn it on many other occasions instead of a coat.  It's actually a favorite of hers and she's still wearing it almost 3 years later!

Little Alice Little Alice

Apparently, I didn't have enough to do because I also made a red rose brooch and red rose and mushroom bracelet to complete the ensemble.  Then, I busted out mad hatter costume for my youngest son.  Somehow, I never managed to get more than cellphone snapshots of it!  But, rest assured, my son was adorable (but don't tell him I said so because he says he's too old to be cute).

alice 3 alice 2


Monday, June 17, 2013

I Can Follow a Pattern!

I fell in love with Riley Blake's Sweetest Thing fabric the minute I saw it.  I wanted the whole collection, I really did.  Instead, I just settled for a few prints and some coordinates from other places at the quilt shop I frequent.  The sweet birds and hearts, the ditsy floral and yellow!  Oh yes, I had to have it all!  I envisioned a whole spring wardrobe full of dresses, bubble shorts, tops and capris.  So far, I've just managed a dress, but there's still time, right?
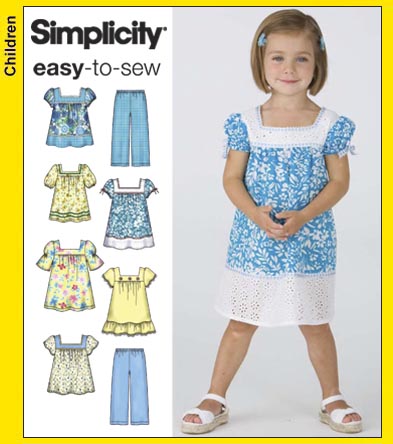
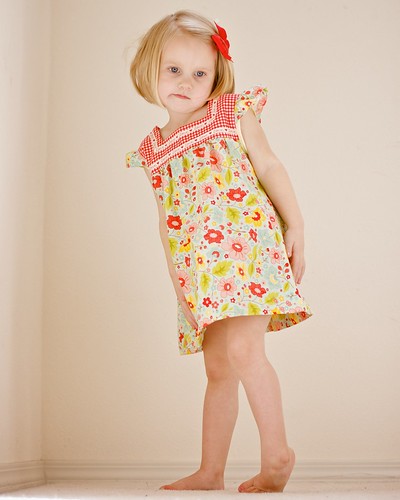
This dress is from a simplicity pattern 3511.  It has a pretty square yoke and an a line dress.  I did adjust the sleeves and put on a flutter sleeve.  Because the original has sleeves, I finished the arm holes with some yellow bias tape.  I guess I am terrible about following patterns after all!  I swear, I didn't change anything else, though.   Cross my heart.  I made it in a 2T and it fits pretty well.  The yoke is a bit big and stiff but it works well and it's perfect for summer.

Square Yoke Dress
As you can see, she's not really sure about it.  What you can't see are the adorable gingham bloomers underneath.

Square Yoke Dress
No, really, mom, it should be PINK!

Square Yoke Dress
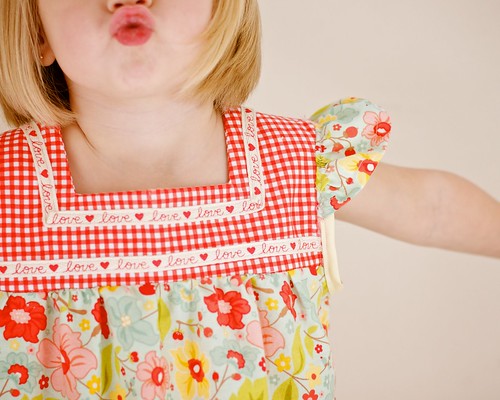
I adore the trim along the yoke.  I found this sweet twill tape on etsy here.

Square Yoke Dress
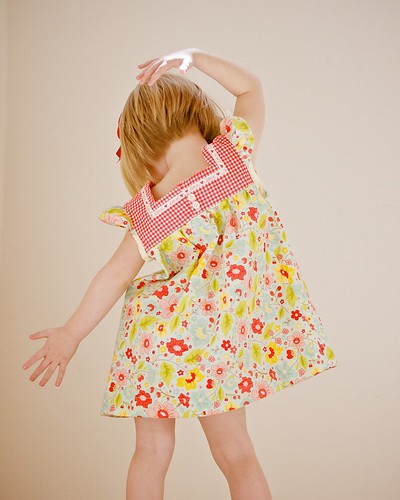
and the back has two small buttons to hold it closed, but it actually slips off and on just fine without them.

I've received more compliments on this dress than just about anything else Little Miss has worn.  It's always very nice to have someone stop and ask where you got a dress and get to respond "Thanks, I made this one!"  Few things make me feel giddy like that does, even if Miss would prefer it's pink.

The hem is almost two inches, so I can let it down as she grows.  I'm sure she'll get a couple of years out of this, maybe three since she's been growing so slowly.

Friday, June 14, 2013

Persnickety Knockoff

I saw this Persnickety dress and instantly fell in love.  I did not love the price, especially for a brand I've never ordered from.  I had no idea about fit or quality so I wasn't going to risk it.  The pattern looked pretty simple, though, so I decided to take a go at it myself.

What I really loved about this dress is how the tone on tone and the simple styling are perked up by good texture.  The wide bands with pintucks and large chunky buttons help the simple style really shine through without making it boring.


First off, I had to look up tutorials on pintucking.  Turns out, it's pretty simple.  You just measure, fold, press, and sew as close to the edge as you can.  There are special feet you can get to help keep everything straight (which would have been very handy for me since my pintucks had a tendency to wander).

I tried the double needle technique but, for the life of me, I couldn't get it to work.  I imagine it's the same reason I can't get my brother machine to shirr.  I'm afraid to adjust my bobbin tension because I know I won't get it back to the factory setting.  So, until I buy a new bobbin case, I'm stuck pintucking the old fashioned way.

This burdastyle tutorial was very informative.  Yeah, it's labor intensive, but it's worth it.  In fact, I plan on more pintucked projects in the future.  In fact, I found it rather fun :)

Top : Two tops of the pockets.   Bottom left to right: Waistband and straps.

I recommend pressing and sewing all the tucks going one direction all at the same time rather than going back and forth.  The first piece I did the back and forth method and it was much more time consuming than the next four pieces which I did all one way and then the other.  Really, it didn't take as much time as I expected, probably because I spaced each set a good five inches apart.

First off, I drafted my pattern which was just a bunch of different rectangles. Add two inches to each dimension to accomodate for pintucks.  I pintucked all of my pieces and sewed them up and then cut them to the right dimensions, not forgetting seam allowance.
The whole thing is sewn with osnaburge.  It had good visual texture and was thin enough to show the pintucks nicely.  I had to dye the skirt section to make it darker, using rit dye.

I threw a buttonhole on the back so that I could get the skirt off and on and buttonholes on the front for the straps, sewed on my pockets and did a dance.  My knockoff was complete.


ooh, clothing label
I added some pom pom trim to the bottom.

It turns out it doesn't fit too well, though.  It's about a size too big, but she'll grow into it :)

I couldn't find the right buttons so I made my own from shrink plastic.  I used this tutorial.

homemade buttons!

Thursday, June 13, 2013

A Little Apron Dress

I am in love with apron dresses.  I seem to have several in the closet every season.  When I saw Sarah Jane's Out to Sea Map fabric I KNEW it had to be made into an apron dress.  My daughter picked out the mermaid fabric to compliment it and my son picked the yellow stripe for the top.  I absolutely love how it all came together.

I drafted the pattern using my daughter's measurements.  The front and back bodice are the same shape, but the back is a bit higher.  It was actually quite simple.  Unfortunately, I cut the sash wrong and had to add extra to it so it looks a little odd.  I was out of fabric to just cut a new length, though.  All in all, I think it looks okay :)

I had this all cut out but managed to get it sewn together during elsie marley's KCW.  She's kicking off the summer event soon too.  July 15-21.


The straps button on the back.  The button is easily moved down to lengthen the straps when she grows.

This is what happened when I told her to stand nicely so that I could see how the dress hung.


The apron is removable.  This way it's like two dresses in one!  The apron is held on by three buttons.  I have some other fabric in this collection and I'm considering making interchangeable aprons.

I felt fancy with the hem and did two lines of this quilting stitch.  It seemed to fit the water theme well.  Unfortunately, I'll regret this decision when it's time to let the hem down.  I'll have to plop down in front of the television with my seam ripper.


It is 3 year old approved!

You can see the whole flickr set here.