Thursday, February 27, 2014

Sally Dress from Very Shannon part 2


The second Sally Dress I made, I sized up on.  This is a size 3 and the other dress is a size 2.  I sized up because the 2 fit perfectly and was just a little difficult to get off and on.  This 3 has a bit more room.  I love, love, love this dress.  I think this is my favorite thing in her closet.


It is a little bit wide in the shoulders, but it stays on and it's comfortable.  I made it from a mid weight cotton and it's perfect for year round.  There is enough room underneath to layer it over a top but it's thin enough easily pair with a cardigan (which I did).


Miss loves that she can carry treasures with her, such as her little pet fox, wherever she goes.  We threw on a cardigan and Mary Janes and took a trip to the park on the first sunny day in what felt like ages.


Miss and foxy were the best of friends.


They went down slides


Rode dinosaurs


Watched clouds


and read books together.  Even though you can't see him in this photo, foxy is helping her pick out a book.  He's just in the other pocket.


Fabric:  American Jane Potluck, Yellow Chicks
Sweater: H&M
Tights: Next Direct
Shoes: Primigi
Glasses: Claires.  These are fashion glasses, not prescription.


Tuesday, February 25, 2014

Sally Dress from Very Shannon part 1


I'm late to this party but I finally got around to sewing the Sally Dress by Very Shannon.  This dress is amazing and so much fun.  It's beautiful inside and outside.  Not a single exposed seam whether you sew it with sleeves or without!  It doesn't have any closures so it's very simple (but you'll want to make sure you add a tag so that your poor daughter doesn't keep putting it on backwards).  Of course, the front and back pattern pieces are the same, it's just pocket placement and embellishments that make the front different.  I used a fabric marker to put my name and a heart in the back so Miss can easily tell which side is which when she's getting dressed.


I've made two of these dresses and you'd hardly know they were from the same pattern.  The first is made with sleeves and sateen.  It gives it a dressier feel but it's still easy to wear.  I'm sorry the pictures aren't very good.  The weather has been very sad and drizzly around here so I'm working in very low light.

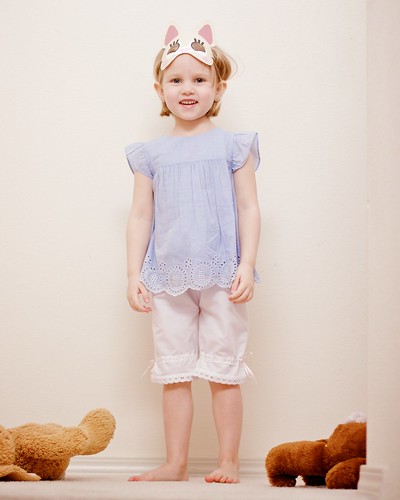
Under the dress, she is wearing her petticoat.  That thing sure has been getting a LOT of mileage.  I also made a pair of bloomers because it just seemed like the thing to do.  The bloomers are cinched in at the knee with lace that is threaded with thin pink ribbon and tied in bows at the side.  They have an elastic waistband and are very easy to wear.  I can foresee that she'll be wearing these a lot with many things this summer.


The dress's sleeves are edged with coral cotton and topstitched to add a bit of color to the otherwise monochrome dress.  I made the skirt extra full and cut two panels selvedge to selvedge.  This thing practically stands up on it's own!  I omitted the pockets and lined the hem withe eyelet to give the whole thing a dressier feel.


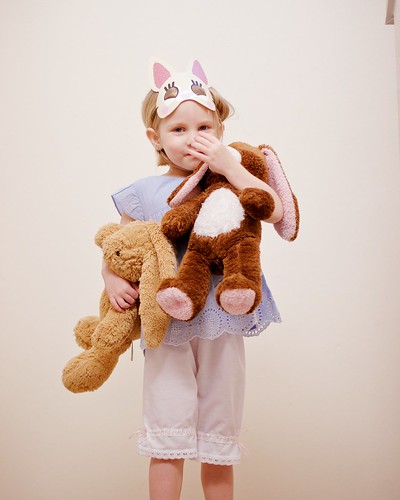
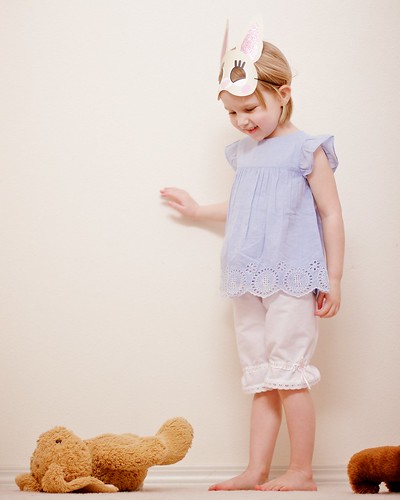
Some photos of another way we've worn the bloomers.  I paired them with this darling eyelet top from GapKids.

Untitled

Untitled

Untitled

I know they're not Sally Dress related but I needed an excuse to share them.

Monday, February 17, 2014

Adjusting a Sleeve Pattern: Adding Length and Adding Fullness

This was originally posted over at The Sewing Rabbit last month but I'm sharing it here now.  It's a tutorial for how to adjust a sleeve pattern.  It's really very simple, I promise!


How to Adjust a Sleeve Pattern:  Adding Length and Fullness


Have you ever pulled out a pattern and decided not to make it because it's the middle of winter and you felt ridiculous making a tiny cap sleeve in January?  I have a solution!  Today, I'm going to show you how to alter any existing sleeve pattern that you already have.  I will show you how to lengthen your sleeve to any length you want.  Elbow length?  Check!  3/4 length?  Check!  Full Length?  Check!  I'll also show you how to add some fullness at the wrist if you want but that's up to you.
One of my favorite things about patterns is changing them.  Yup!  I just said that.  I LOVE to change patterns.  In fact, I don't think I've ever made the same pattern the same way twice.  There is always something that I change.  Once you have a basic pattern, simple modifications are easy to make.  I'll show you how.


What you need to get started:
  • Paper
  • Pencil or Marker
  • Straight Edge
  • Sleeve Pattern
  • Arm Measurement
To start off, you want to find the excited recipient of your sewing expertise and measure from the armpit straight down the arm to where you want your sleeve to end.  Keep in mind how wide your cuff is on your sleeve pattern and take that into account when measuring.  If your sleeve has a 1 inch cuff, and you measure the perfect 3/4 sleeve and add that 1 inch cuff to the end of it... well, you're finished sleeve will be a perfect 3/4 and 1 inch sleeve.  Most basic bound sleeves won't make a noticeable difference, however, but it's something to check before you take your measurement to see if you need to make an adjustment for it.  I made sure to thoroughly bore my child before taking her photo.  Can you tell
After you have that arm measurement use your straight edge to draw a line from the top corner of your sleeve pattern the length of that measurement you just took.  Trace the top of your sleeve.  Step one complete!  I told you this was easy.


Step 2:  Extend the line on the other side of your pattern piece right on down.  Don’t worry about being precise in how long it is at this point because you’ll use your pattern piece to match everything up in the next step.


Step 3:  Slide your pattern piece down that straight edge you just made until the bottom lines up with your line in step one.  Your corners aren’t going to meet up.  Don’t panic!  That’s okay.  Ignore it for now and just use the bottom of your pattern piece or a ruler to draw a straight edge connecting your two lines from steps 1 and 2.  Now, trace the corner just a bit so that your ruler will have a guide in the next step.


Step 4:  Use your ruler to connect the top corner of the sleeve and bottom that you just traced in step 3.  Draw a line to connect them.
This is what it will look like when you’re done.  If you just want to add length to your sleeve, you’re done!  Pat yourself on the back and go sew up your new sleeve and install it just like your pattern directions say.  No other modifications needed!  You will want to label your sleeve and probably tuck it away with your pattern to use later.


If you also want a fuller sleeve you can follow along to the next couple of steps.
Step 5:  To add fullness, you just adjust the width at the bottom of the sleeve.  I adjusted mine just 1 inch.  You can adjust yours however much you want, though.  Play with it!  Have fun!  But you might want to make a muslin because sometimes it can be hard to visualize the amount of fullness you want on paper.  I’ve used this method to add as much as 2 inches before, though.


Step 6:  This is really a repeat of step 4.  Just redraw that edge by aligning your ruler with the top and bottom corners and draw your edge.  Simple!


Step 7:  You’ll want to gather your bottom edge to fit into your cuff, but other than that you follow the directions exactly as your pattern tells you to.
Here are my finished sleeves.  The pattern is the Little Bow Pleat Dress from Blank Slate Patterns.  It originally had a short little puff sleeve.  I turned it into a sweet long sleeved winter dress and left off the bow so that it’s easier to layer under jackets and sweaters.


sleeves

little bow pleat


Thursday, February 13, 2014

Easy Heart Skirt Tutorial


Still haven't made a Valentine's Day outfit yet?  No worries, I have a tutorial for you.  It's easy and it's quick.  Head over to The Sewing Rabbit for all the details.  See you over there!


Wednesday, February 12, 2014

Machine Woes

My sewing machine has been acting up off and on for months.  I can usually finesse it into cooperating long enough to get a project done but, lately, it hasn't been going so well.  The tension on this thing is all kinds of bad.  Not just bad but inconsistent between stitches.  It will take one or two stitches that are ok, two that are adequate, one that is really bad, maybe leave a loop on the bobbin side, and then stitch a few more good ones...  Sometimes, it makes a thunk noise.  I assume that's bad.

Sometimes, it will be just fine.  I'll have no problems but, gradually, the issue is becoming more and more pronounced.  Now, I have to sew with the tension up at some crazy setting for the upper thread not to pull through to the underside of my project.

Yes, my bobbin is in right and my machine is threaded correctly.  I've checked and rechecked that.  I've made sure I'm using the correct bobbins for my machine.  I've cleaned the machine (and removed a bent pin from the under the bobbin case *blush*).  A new bobbin case didn't fix the problem.  It seems to be okay on zigzag stitches, but maybe that's just because I don't know what I'm looking for?

So, I suppose the next step is taking it to the shop, but I'll confess, she's a cheap machine.  I own a very cheap machine.  In fact, servicing the machine will probably cost as much as buying a new one.

I have a backup but it has issues too.  This is probably related to the fact that it's an even cheaper model.  I'm seeing a trend here, are you?  I think what this means is that I need to save up for a sturdier machine.  Considering how much I sew, it's probably time to make the investment.  What model do you have or would you recommend?