Saturday, October 26, 2013

Saint Edward Haunting

The Haunting at St Edward

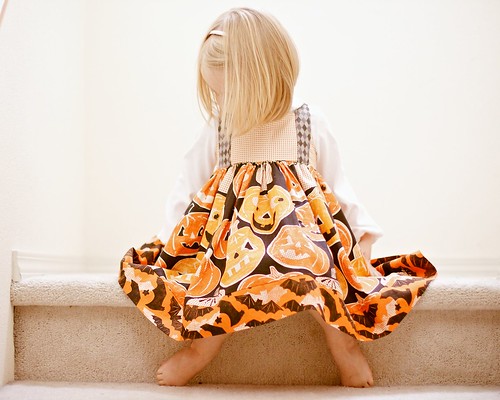
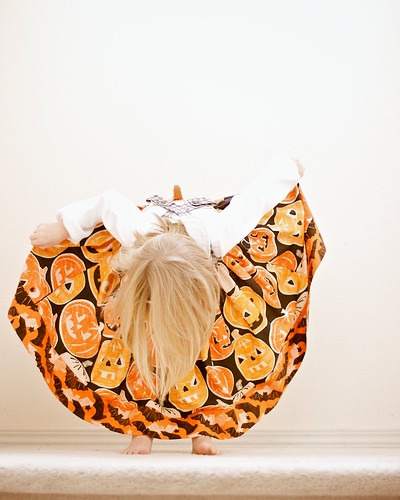
If anyone has peeked at my instagram account, they have probably noticed that I really love creepy photography.  I also love Halloween.  The two blend together into a perfect duet.  I've wanted to do a ghost photo shoot for a while and I finally got my chance yesterday :)

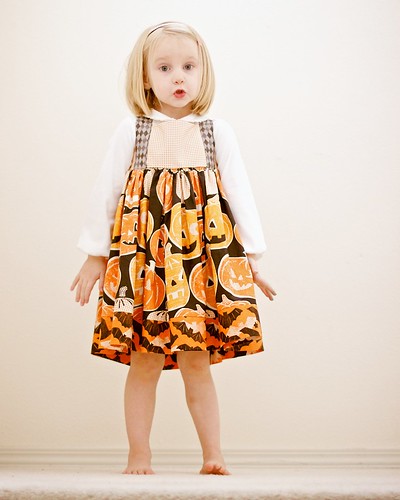
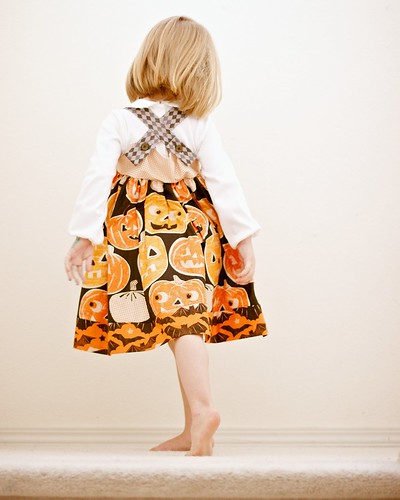
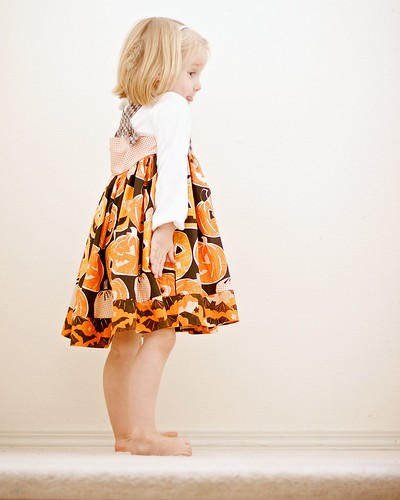
Little Miss was originally going to be a wind up doll...last year.  I did a self drafted pattern based on this photo I saw online.  It's a Victorian dress with lace insets all down the front and broderie anglaise trim.  I was in love the first moment I saw it.  There are more beauties at the Bowes Museum website.

I started with lace inset in the front.  I pieced it together from lace I bought on etsy.  The two I used on the front of my dress are from mingmingworld.  They seem to still carry them here and here.  The anglaise trim is vintage and it's beautiful.  So so beautiful.  I had a rough time cutting it up.  Once I had the lace inset done I couldn't wrap my brain around how to add it to the rest of the dress and then Miss decided she wanted to be Rapunzel anyway so the project sat until I picked it up last month.

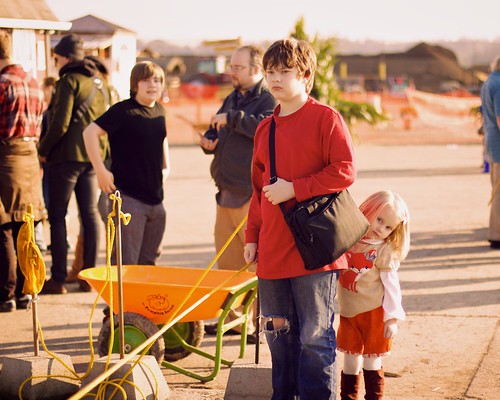
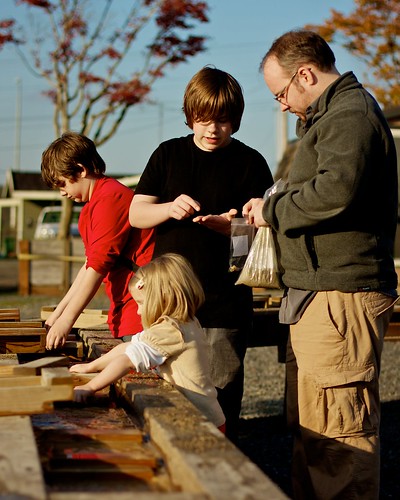
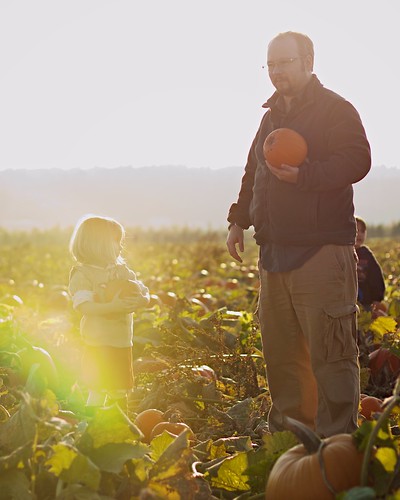
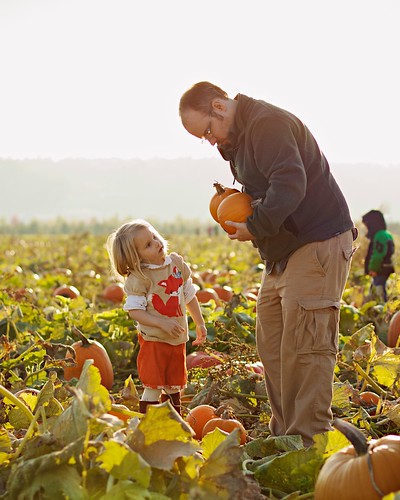
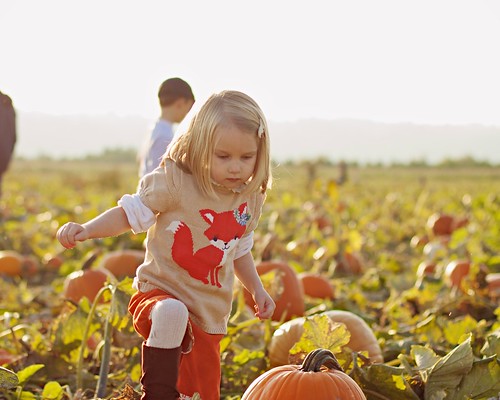
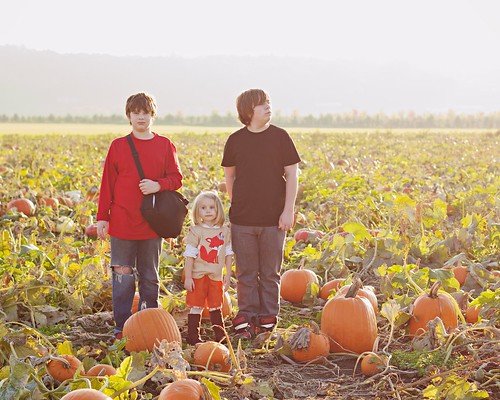
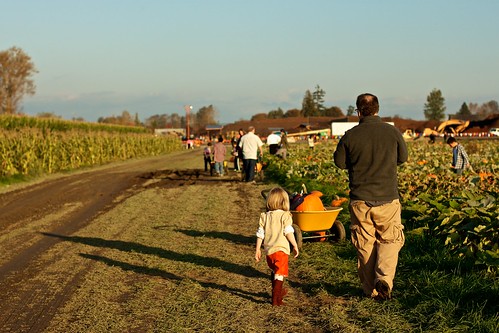
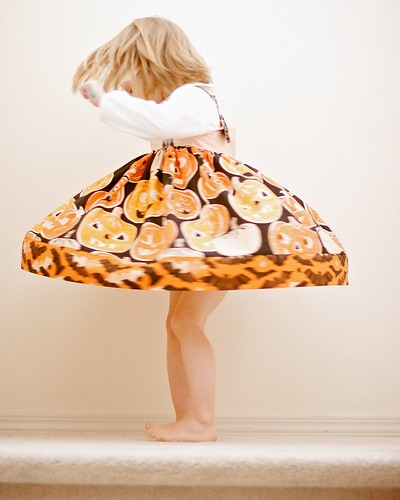
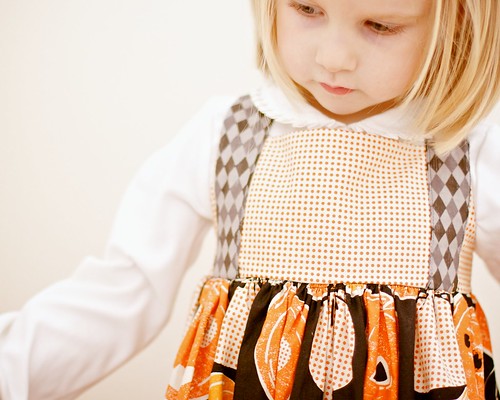
The group of kids last year.  My oldest made his own costume and I made the little one's.  My poor chicken terrified all the kids in the neighborhood.


After I picked it up a year later, the pattern fell into place.  I just added two side panels and a back panel and sewed on a skirt.  It really wasn't all that difficult.  I'll admit that the some of the seams are exposed under the front trim, but it's not really noticeable.  The rest of my dress is cotton muslin. After I was finished, I tea stained the entire thing to give it more of a vintage look.  The first time around it came out orange!  Thank goodness a couple of washes fixed that.

The Haunting at St Edward

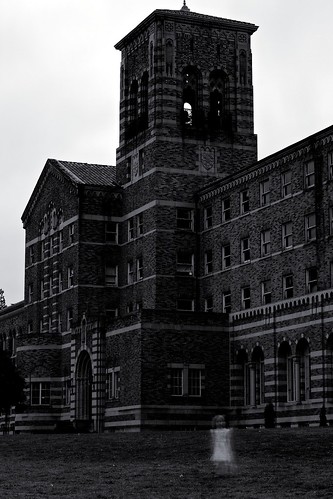
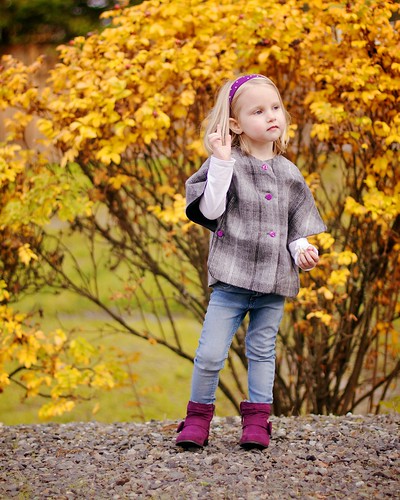
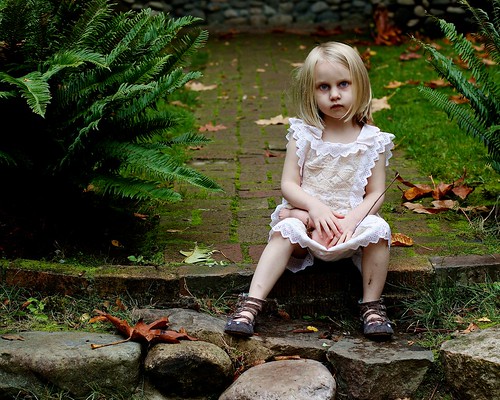
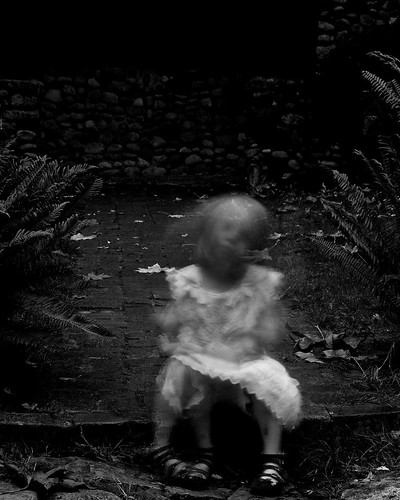
She didn't want to be a wind up doll, so I thought a broken doll might be cute but after practicing with the makeup she didn't want to be that either.  She wanted something "spookier".  She thought a ghost would be pretty spooky.  She sat still while I did her makeup and then we ran off to the park to do a ghostly photo shoot.

The Haunting at St Edward

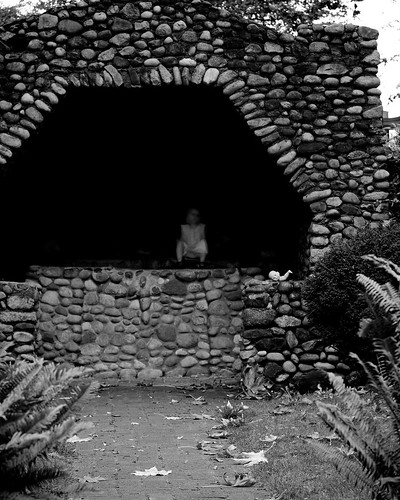
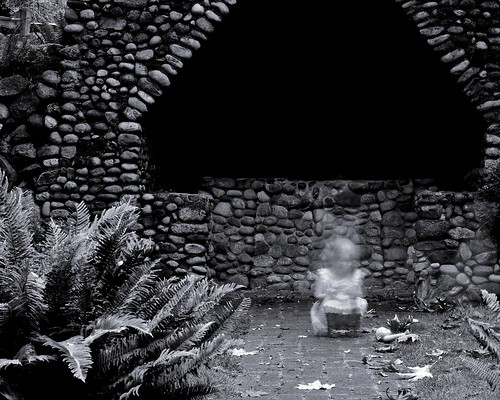
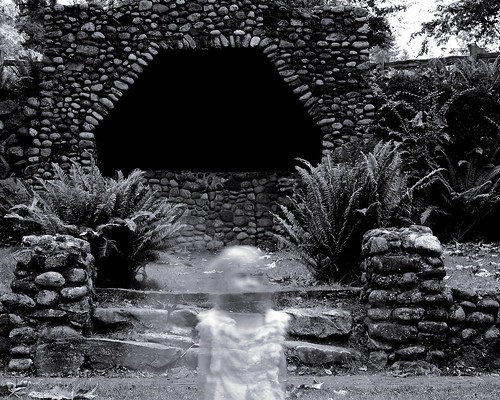
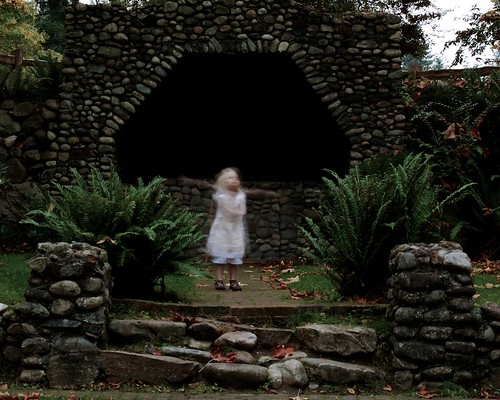
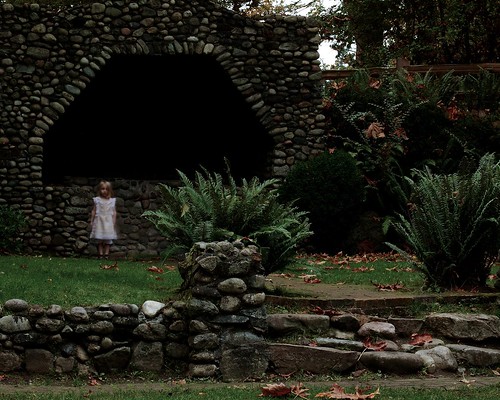
The photos were taken using a very slow shutter speed, sometimes as long as 30 seconds depending on the look I was going for.  I also used a neutral density filter to help cut out light so that my shot wouldn't be overexposed.  It was nice for Miss not to have to worry about sitting still for once.  We also went later in the day on a damp overcast evening so there was hardly anyone around.  I think they came out perfectly.

The Haunting at St Edward

The Haunting at St Edward

The Haunting at St Edward

I have a couple in color, but I think the prefer the mood of the black and white

The Haunting at St Edward

The Haunting at St Edward

I think I'm going to grow up and be a ghost photographer!

Thursday, October 24, 2013

Flip this Pattern : Sunki

sunki flip

Once again, I participated in Flip this Pattern by Frances Suzanne.  It seems I can't resist it!  I wanted to participate last month but I was swamped with the Project Run and Play Sew Along!


This month's challenge was to flip the Sunki dress.  I love the lines in this pattern!  The large round pockets, the pleats in the sleeves, the wonderful fabric possiblities...  Seriously, in love.  Because I love the pattern the way it is, I chose to flip it by doing an upcycle this time around.

sunki flip

Miss and I perused the Forever 21 sale rack while it was 40% off and chose the fabrics.  She fell in love with a mint lace play suit.  This baby started out as a size L short suit.  I just barely had enough fabric to cut out the front and back panels.  The sleeves and inset are made from a lovely cream chiffon blouse.

sunki flip

I kept the top neckline from the suit so that I didn't have to redo the zipper or the lining.  I just cut it all together.  Of course, the neckline was HUGE so I had to pleat it to get it the right size, but I thought the pleats complimented the pattern well.

sunki flip

sunki flip

I also kept the sleeves from the top as they were.  I just cut the pattern on the fold of the sleeve.  There was some excess so I just pleated the fullness in.  The sleeves are REALLY big, but Miss loves them.  She says she feels beautiful.

sunki flip

I cut out a size 3 since she fits a size 2 really well (and it just feels weird to sew up size 2 items for my 4 year old) but the dress is way too big.  Luckily, she has plenty in her closet that fits and she can wear this next year when she grows into it.

sunki flip

Oliver and S Forest Path Cape

Oliver and S Forest Path Cape

kid's clothes week

Last night, I cut out and sewed up the Oliver + S Forest Path Cape.  I've loved it since it was first released and bought it almost immediately.  I've had the fabric for this project since July.  I guess I just needed KCW to kick me into gear and get it done.

I don't know why it took me so long to sew it up.  I guess I figured it would be harder.  This was one of the easiest things I've ever made.  It's only 4 pattern pieces!  Yes, it's fully lined but it came together flawlessly :)  I think this is going to be a cool weather staple for every year.  Miss loves it and she got a million compliments on it today while we were out and about.

I love that it's easy for her to play in too.  It has plenty of room to run around and move in.  I also love that you can make it from a variety of different fabrics.  The pattern calls for wool, but I didn't have the budget for that after buying the wool for my suit so I bought some very soft but thick flannel.  I think it drapes very nicely and it's not too warm so she doesn't feel the need to take it off when we're inside.

Oliver and S Forest Path Cape

Oliver and S Forest Path Cape

It has such a cute silhouette from the side as well as the front and the back.  I almost want to buy the women's version for myself.

I added a pop of color by sewing on some bright purple buttons.  (They were leftover from her Princess Bubblegum dress.)  The pattern calls for 5 buttons.  Three down the front and one on each side to hold the arms together.  If you don't want to do buttons, though, the pattern tells you how to use snaps to hold it together instead.

Oliver and S Forest Path Cape

This is definitely a pattern I will buy in the larger sizes when she outgrows this pattern.  Such an easy project that looks so stylish and will be great for the older crowd.

Oliver and S Forest Path Cape
She fancies herself a super model


Monday, October 14, 2013

Family Fun at the Pumpkin Patch

Pumpkin Patch
Waiting to get tickets.  Two talking in the background, one zoning out and the little one peeking out from behind him.
I love photography. I would take photos all day long if I could. I'm not as much a fan of posed photos but I love candid shots. Pictures that capture who the person is and the mood at the time. I suppose this is called lifestyle photography. I'm not sure I"d call what I do "lifestyle photography" but I do know that I love it. We went to the pumpkin patch yesterday and I took a bajillion photos. Here are two dozen of my most favorite.
Pumpkin Patch
She looked so tiny carrying that 1 lb bag over her shoulder.
Pumpkin Patch
watching an airplane
  Pumpkin Patch
Pumpkin Patch
Not exactly candid.  I told them where to stand but sometimes it's nice to get photos of everyone looking at the camera at the same time.
Pumpkin Patch
Everyone loved "mining"
Pumpkin Patch

Pumpkin Patch
 
Pumpkin Patch

Pumpkin Patch

Pumpkin Patch
Daddy helped her pick pumpkins.
Pumpkin Patch
I wish I hadn't cut off her feet.  The pumpkins were knee high on her.
Pumpkin Patch
Sometimes, this is as good as a group photo gets.
Pumpkin Patch
Pumpkin Patch
Pumpkin Patch
Pumpkin Patch
Pumpkin Patch

Thursday, October 10, 2013

Halloween Twirl

Spooktacular Halloween Twirl Dress

I was trying to take a break from sewing so that I could write up a couple of tutorials but then I saw this fabric on etsy. It looked lonely, so I had it sent home to me. I love the whole line.  I bought pumpkintopia, gone batty, pumpkin dot and whatever the harlequin is called.  It's all pretty much sold out most places so I feel lucky to have found it all in one place!  It's all from the Maude Asbury Spooktacular line.

Spooktacular Halloween Twirl Dress

I sewed it up using the Violette Field Threads new Kate pattern.  I left off the apron because it didn't want the dress too busy.  It has a lot of print going on already!  I sewed up teh size 3 which is a size too big for Miss so I had to get clever with the straps on the back.  She's usually a size 2, so the sizing isn't off, I just went up a size because she has a lot in her closet that fits her right now.  Plus, she'll get to wear this next year too :)

Spooktacular Halloween Twirl Dress

The Kate was a very simple pattern to follow.  It sewed up quickly in around 3 hours total from printing/cutting the pattern to finished dress.  I did two panels on the skirt the full selvedge width instead of what the pattern calls for.  This makes the dress a little bit fuller and gives it a +10 to twirl factor.  Miss is in love and told me she wants to wear it every single day!  I win!

Spooktacular Halloween Twirl Dress

I have no idea why she wouldn't keep her tongue in her mouth during the shoot, but at least she wasn't throwing a tantrum and she was holding still.  Sometimes, you just have to take what you can get!

Spooktacular Halloween Twirl Dress
Extra twirl factor!


Spooktacular Halloween Twirl Dress
Ooops, forgot to pull out my gathering threads!
Spooktacular Halloween Twirl Dress
I love a neatly pressed hem facing.

Spooktacular Halloween Twirl Dress
Did you know you could sew on buttons using a zig zag stitch?

Spooktacular Halloween Twirl Dress


Spooktacular Halloween Twirl Dress


Spooktacular Halloween Twirl Dress
A Goodbye Bow