Thursday, October 10, 2013

Halloween Twirl

Spooktacular Halloween Twirl Dress

I was trying to take a break from sewing so that I could write up a couple of tutorials but then I saw this fabric on etsy. It looked lonely, so I had it sent home to me. I love the whole line.  I bought pumpkintopia, gone batty, pumpkin dot and whatever the harlequin is called.  It's all pretty much sold out most places so I feel lucky to have found it all in one place!  It's all from the Maude Asbury Spooktacular line.

Spooktacular Halloween Twirl Dress

I sewed it up using the Violette Field Threads new Kate pattern.  I left off the apron because it didn't want the dress too busy.  It has a lot of print going on already!  I sewed up teh size 3 which is a size too big for Miss so I had to get clever with the straps on the back.  She's usually a size 2, so the sizing isn't off, I just went up a size because she has a lot in her closet that fits her right now.  Plus, she'll get to wear this next year too :)

Spooktacular Halloween Twirl Dress

The Kate was a very simple pattern to follow.  It sewed up quickly in around 3 hours total from printing/cutting the pattern to finished dress.  I did two panels on the skirt the full selvedge width instead of what the pattern calls for.  This makes the dress a little bit fuller and gives it a +10 to twirl factor.  Miss is in love and told me she wants to wear it every single day!  I win!

Spooktacular Halloween Twirl Dress

I have no idea why she wouldn't keep her tongue in her mouth during the shoot, but at least she wasn't throwing a tantrum and she was holding still.  Sometimes, you just have to take what you can get!

Spooktacular Halloween Twirl Dress
Extra twirl factor!


Spooktacular Halloween Twirl Dress
Ooops, forgot to pull out my gathering threads!
Spooktacular Halloween Twirl Dress
I love a neatly pressed hem facing.

Spooktacular Halloween Twirl Dress
Did you know you could sew on buttons using a zig zag stitch?

Spooktacular Halloween Twirl Dress


Spooktacular Halloween Twirl Dress


Spooktacular Halloween Twirl Dress
A Goodbye Bow


Monday, September 30, 2013

Project Run and Play Sew Along Week 4: Signature Look

I've been quiet because I've been sewing in practically every spare minute this month!  I've been thinking about my signature look.  I asked my family to describe my sewing in 3 words if they could.

One son said, "Vintage, girlie, bright."
One son said, "Old school, dresses, fabric."
My husband said, "Cute, little, classic."  He later changed classic to vintage.
and little Miss said, "I don't know."  The question might still be a bit esoteric for her.  "Then she said, "I like it when you let me pick the fabric."

I often ask her input on fabric because if she doesn't like it then there's not much point in sewing it up, is there?  But, really, the opinion I value the most is my youngest son's.  He really has an eye for colors and mixing prints/textures.  When I can't make up my mind, I'll bounce the ideas off of him and he's always right.  Every time.

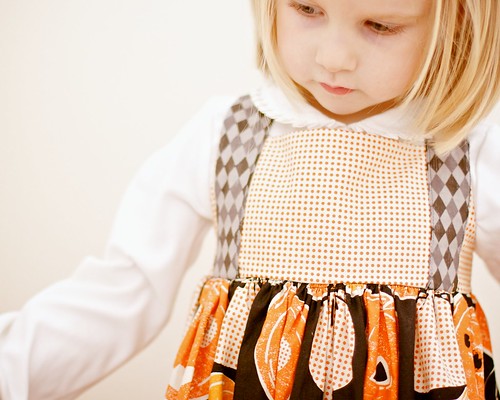
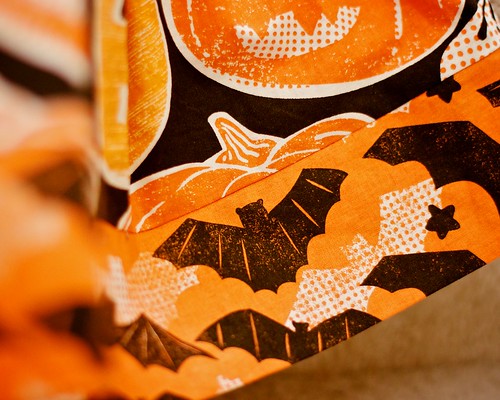
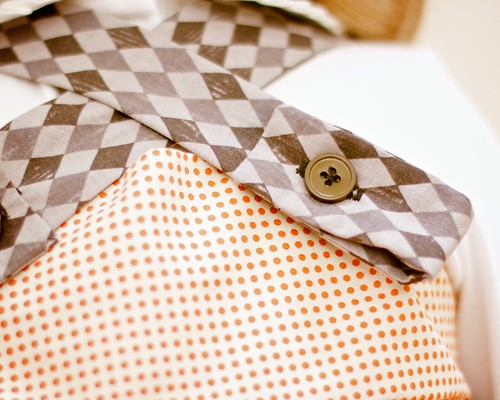
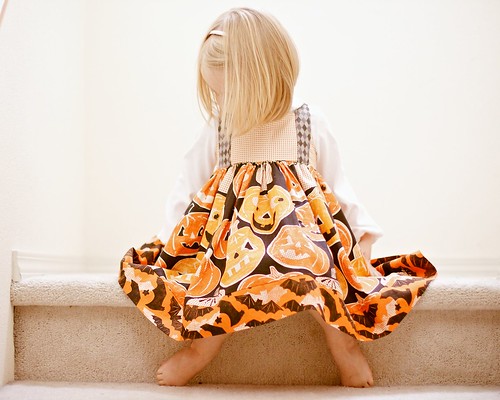
When I was making the apron dress, I knew I wanted to use Sarah Jane's Out to Sea line, but I was having a difficult time figuring out which pattern to put where.  He suggested the yellow stripe for the top and he nailed it!  You see, my creative process is that I see a fabric and I fall in love with it.  The fabric inspires me and the creation that it becomes is based on the print.  Starting with a pattern is difficult for me.  I almost always start with the fabric.

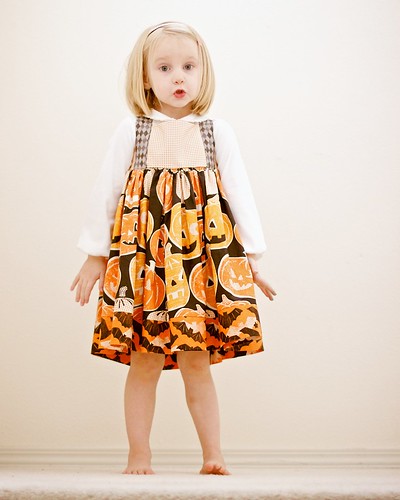
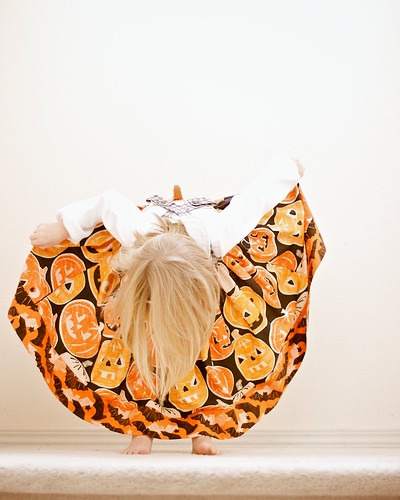
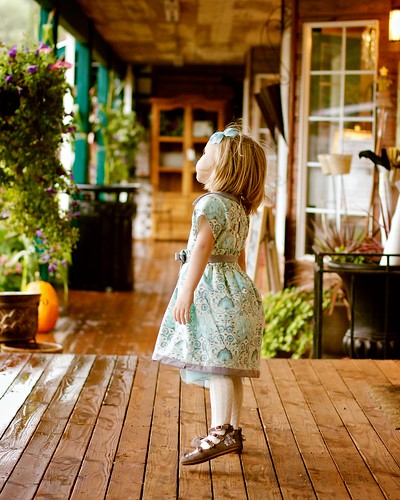
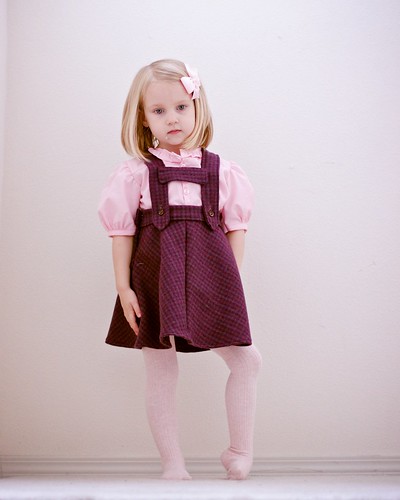
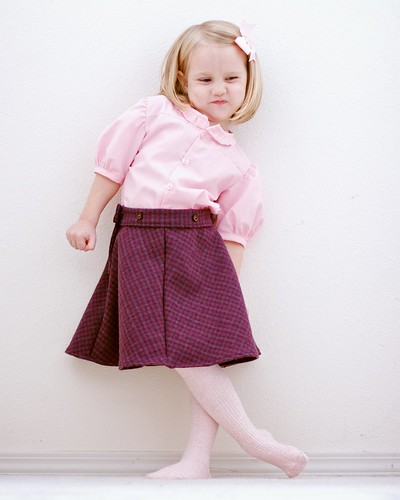
So, my signature look?  I love a fun print.  I really do.  I love making dresses (and Little Miss loves wearing them!).  I am greatly inspired by vintage fashion and I like a clean, simple silhouette.  So, this week definitely showcases a fun print :)

Signature Look for Project Run and Play
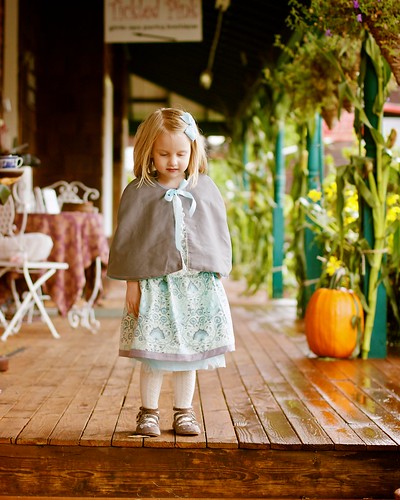
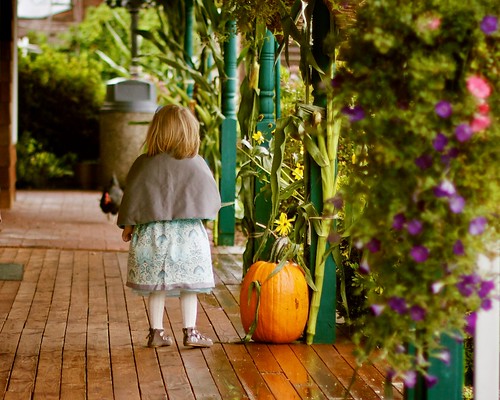
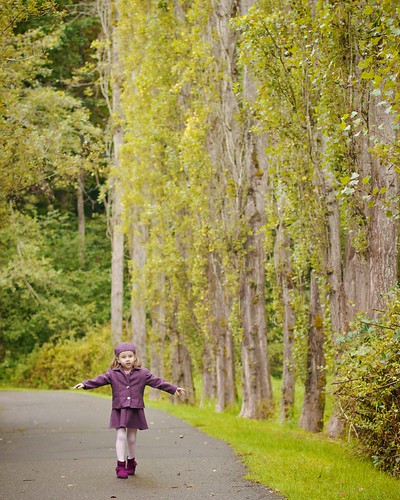
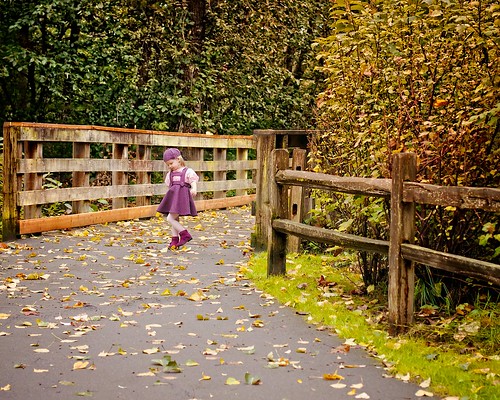
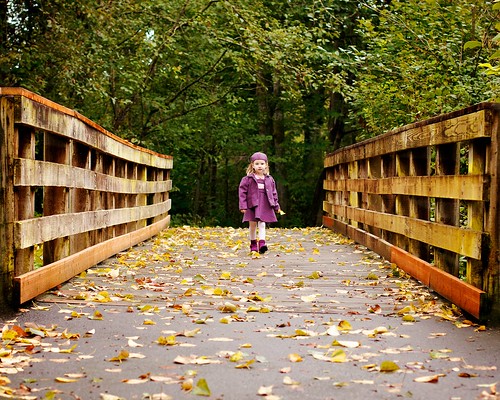
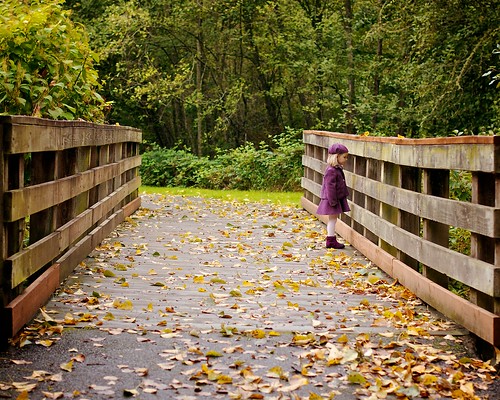
It was very cold and rainy during out photoshoot.  She was unhappy to have a shot without the cape.

Signature Look for Project Run and Play

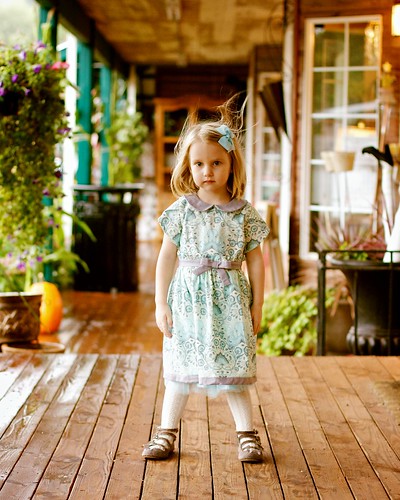
This week's look has been bouncing around my head for a while.  It's been there since I saw the most amazing fabric I've ever laid my eyes on!  
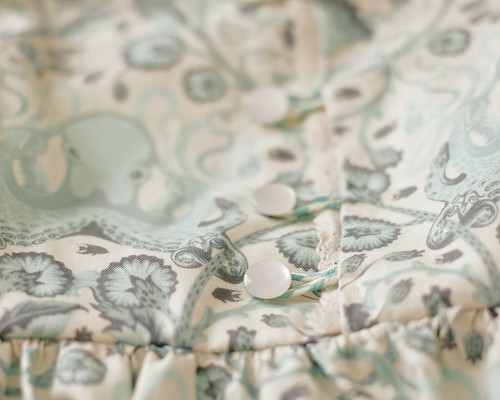
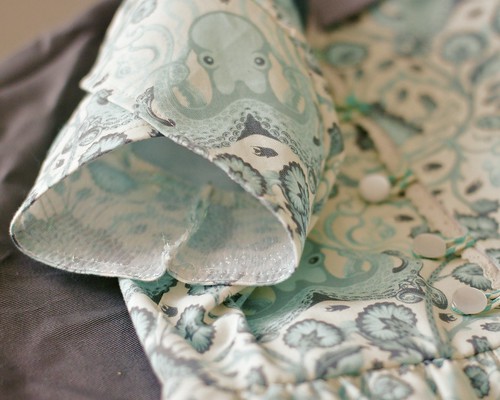
Tula Pink's Octo Garden in Aqua.  Seriously, I almost passed out when I ran across it.  What is not to love about an octopus damask in one of my favorite colors?  Lucky for me, Little Miss approved!

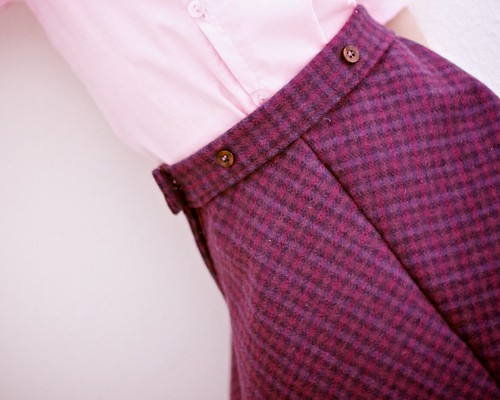
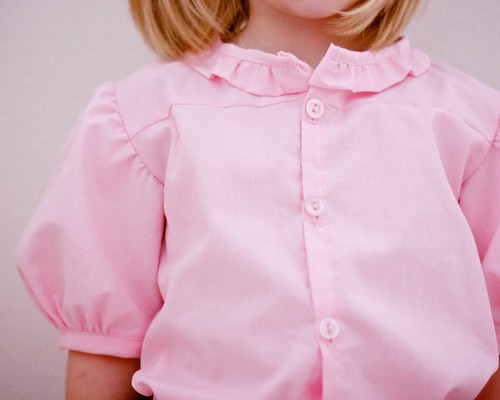
Inspired by the fabric, I knew I had to have a gathered waist dress.  I knew it needed ruffles.  I also knew that I wanted some crisp lines to break up the print so it didn't overwhelm my model, so I accented with a medium grey on the collar and the waist and then closed it up with a grey contrast band at the bottom.

Detail Shots

For a little extra fun, I added an iridescent ripple fabric to the inside of the tulip sleeve.  It doesn't show up really well in the photos, but it catches the light in person just enough to make you do a double take.  I love adding just a little pop of something unexpected.

Detail Shots

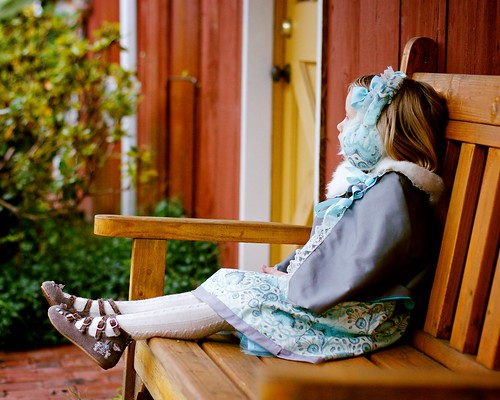
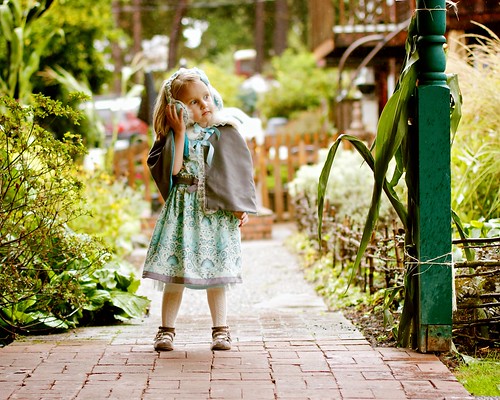
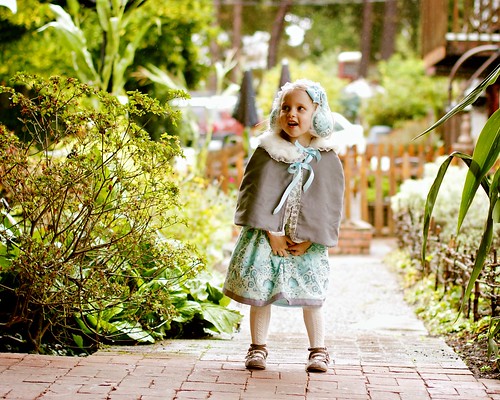
I think that something else that adds to my signature look is that I like to make things in sets.  Just a dress isn't usually enough for me.  For week one, I kept it simple, but I made two matching pieces.  Week two, I made two matching accessories to pull the look together.  Week three, I made a 4 piece suit (I'm seeing a pattern emerging).  There are not 5 pieces this week, don't worry!  But, I didn't stop at just a dress.  I made a matching cape with detachable collar and ear muffs and an aqua tulle underskirt and a belt.  Wait, that is six pieces.  I assure you, it was not planned!  In fact, I originally intended to use the pettiskirt I made ages ago for under this dress, but I thought the blue tulle just complimented it so nicely that I decided it needed a tulle underskirt instead.

Signature Look for Project Run and Play

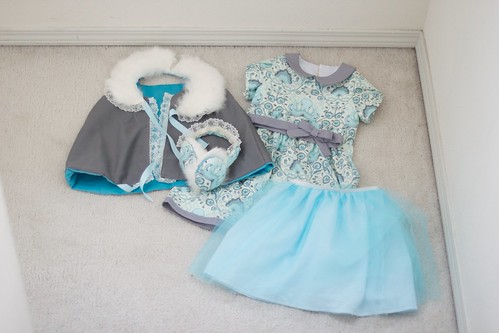
The collar and the under skirt and belt all are separate pieces.  I like the variety and it also means she can wear the pieces with other outfits that she has.  I think the fur collar will be darling with her cardigans and the tulle skirt will be nice with several of her cooler colored dresses if I want something dressier than the cotton pettiskirt.

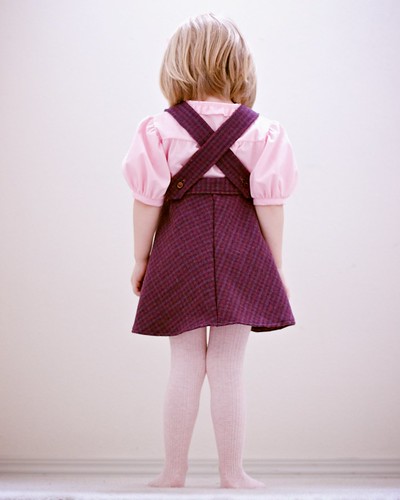
The dress is a drafted bodice and I modified the Tinny sleeve to be a tulip sleeve.  The skirt is just a simple gathered skirt.  Although, after drafting my own bodice, I realized it's almost identical to the Tinny bodice and I love the fit of that pattern so, I guess you could call this a flipped Tinny!

Tulip sleeves are so forgiving since the pieces overlap.  You can't really set them in wrong.  I did sew my first one upside down and I had the overlap facing backward instead of forward so I had to unpick the seam and sew it back in the right way and the overlap was still the wrong way.  I fixed it and proceeded to do exactly the same with other sleeve.  I think I'd been sewing too long!

Signature Look for Project Run and Play

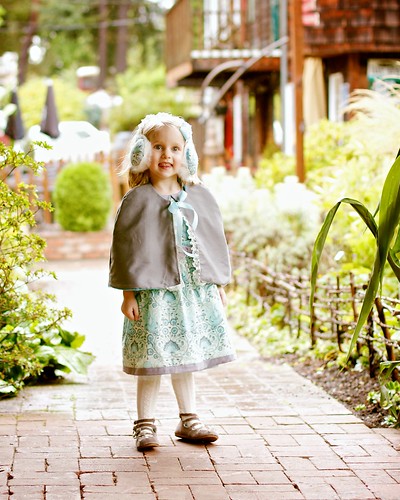
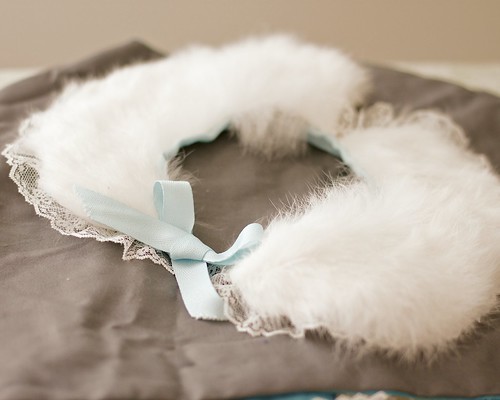
I added a cape because I wanted something warm to coordinate with the dress.  I had some rabbit hanging around and I thought it would be fun to add a fur collar and I threw in earmuffs too since Miss had been asking me for a pair for quite some time.  She likes that she can wear the collar with anything that strikes her fancy.

Signature Look for Project Run and Play

Signature Look for Project Run and Play

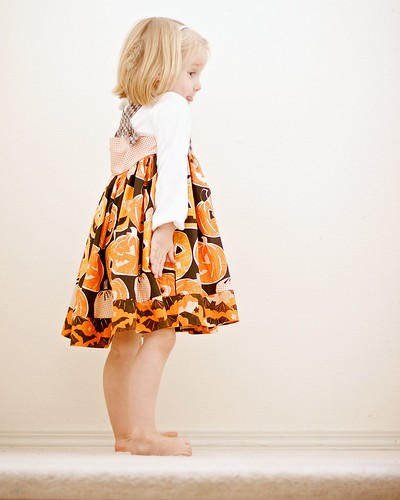
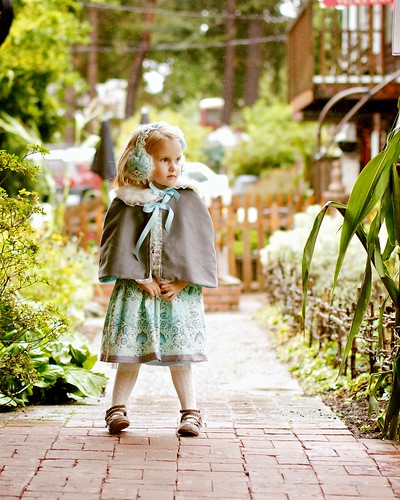
Here is the cape and dress without the accessories.  Nice clean lines and a pop of color.

Signature Look for Project Run and Play
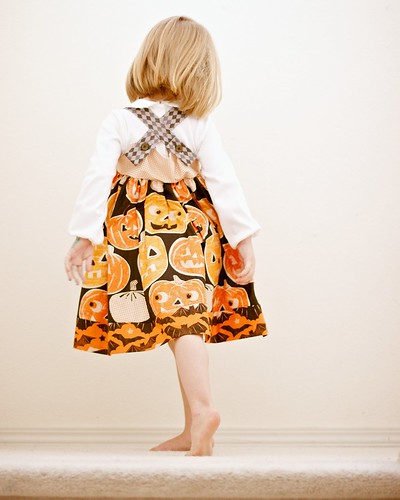
and the back :)  The dress is about a size too big because I felt she had enough things in her closet that fit right now.  I went up a size so this one would last a little big longer.  Cape's are very forgiving in fit, so I know the cape will fit as long as the dress does.

Signature Look for Project Run and Play
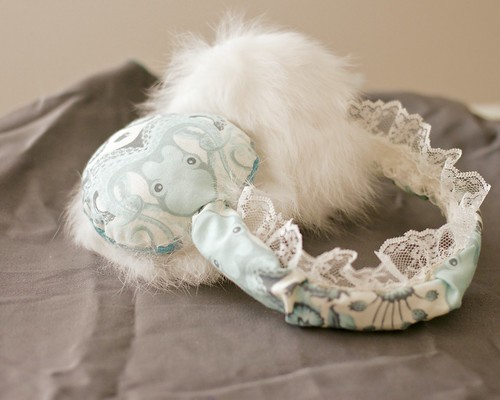
Earmuffs and no collar.  She LOVES these earmuffs!

Signature Look for Project Run and Play
All the pieces together.

Signature Look for Project Run and Play

Signature Look for Project Run and Play

Here are some close up shots of the details.

Detail Shots

Detail Shots

The cape is grey twill, lined with aqua baby whale corduroy.  It's warm but still has some drape to it without being too stiff.

Detail Shots

Detail Shots

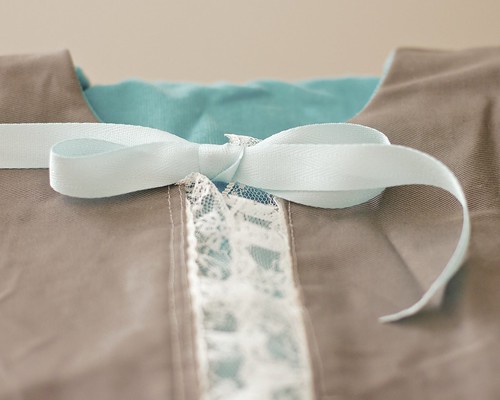
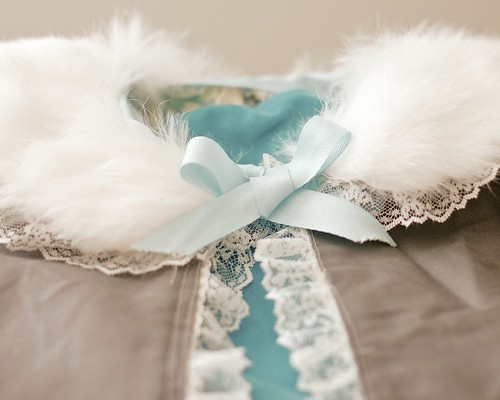
The collar ties together in the front the same way that the cape does.  I liked the underside of the collar with the octopus print fabric.

Detail Shots

Cape and collar together.

Detail Shots

Detail Shots

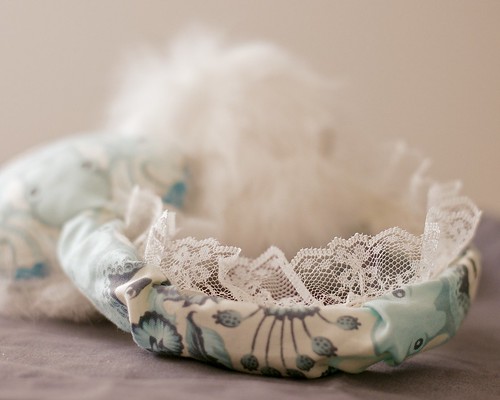
The earmuffs have an octopus on each side and lace that matches the collar and the cape.

Detail Shots

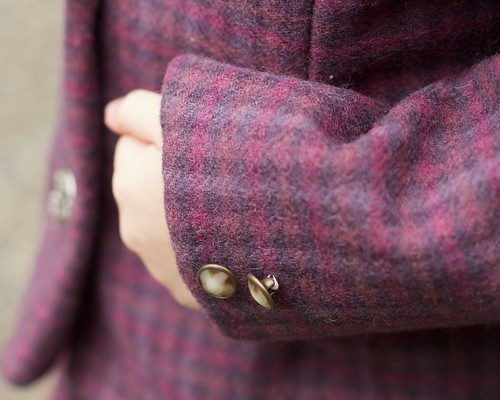
The dress has six iridescent buttons down the back and a lace placket.

Detail Shots

One more shot of the tulip sleeve which is lined with an iridescent ripple fabric.  You can see the buttons and the lace in the background.


Monday, September 23, 2013

Project Run and Play Sew Along: Mad for Plaid

Vintage wool suit
Click on the photos to view them larger.

Well, I did it. I cut into the beautiful plaid wool. Thanks to everyone for the encouragement on the last post.  It was so wonderful to sew with! It seems I'm mildly allergic to wool; my arms have a little rash on them. It's completely worth it, though.

Instagram photos are full size.

This week's Project Run and Play theme is Mad for Plaid.  I happened to have some lovely wool yardage calling my name.  Serendipitous?  I think so.  This week, I went all out and made a four piece outfit.  There is a jacket, a shirt, a skirt with suspenders and a matching cap.  I also got a crash course in working with vintage patterns.  I'm also going to add that I made most of this on the weekend.  Why?  Probably because I'm a sucker for punishment.


Vintage wool suit

Vintage wool suit


Unlike the previous vintage pattern I sewed, this pattern had very minimal instructions.  The pattern was also much more detailed.  Between the lack or directions and the odd shaped pattern pieces, I had a lot of fiddling to do.  The pattern pieces had holes in them for markings (all different sizes) which I had to mark and then match up later.  Once I figured out which hole was for what part, it all made sense but it was a long process.  My muslin had many strangely placed darts and I might have dulled my seam ripper.

Everything you need to know about installing a lining.
A text message conversation with my wonderful aunt and, suddenly, everything fell into place.  The other pieces had fewer holes and starting with those helped me understand what all of this meant.  There are 4 holes to indicate darts, 4 holes for pocket placement, holes for seam allowance, collar placement AND where to cut for the lining (this was the one that really had me stumped).  If you break it down, it's really not as scary as it looks.


Through this process, I made my first lined jacket and my first darts.  In my opinion, the darts look perfect, but I think the wool's forgiveness has a lot to do with that.   I also learned a few things about construction that I plan to use later in pattern drafting, like the clever way they made the lapel.
Vintage wool suit


The skirt is interesting.  It has snaps to hold closed the opening on the side and it called for a hook and eye closure but I chose to use a larger snap for ease of getting off and on.  The directions merely said "face opening and sew on snaps" with a drawing so I pretty much had to wing it and, as it turns out, I sewed my facing on backward but I'm just gonna go with it.  Before I realized what I'd done, the seam allowance had already been trimmed and I was pretty much out of fabric.

One thing I love about vintage patterns is how they are made to grow with children.  This pattern has suspenders to hold the skirt up and the waist is just a bit too big.  The suspenders hold the skirt up high so that it the silhouette is right.  As my daughter grows, I can remove the suspenders and have her wear the skirt as is.  It will fit at her natural waist and hit right about the knee.  The jacket is on the short side but will probably last her two seasons since the arms are long.

Vintage wool suit
With suspenders, it fits much shorter.
Vintage wool suit


Vintage wool suit
It's longer without the suspenders and barely stays on right now!

Vintage wool suit
Detail shot of the waistband.

One of my favorite things is that this pattern calls for gathers at the elbow.  It's subtle but darling. 
 It add just a touch of extra fullness to the sleeve and makes it easier to move in.  It just really tickles me for some reason, probably because it's something that would have never occurred to me.  I managed to miss taking a photo of it somehow.

The shirt is not a vintage pattern, it's a shirt from Lily Bird Studio which I've had for ages and only just got around to sewing up.  I lengthened the sleeve for more coverage and lengthened the hem as well so that she could wear it for two years along with the skirt.  I like the little ruffle detail at the neck but I flipped it and sewed it downward instead of leaving it up as shown in the instructions.  It's a simple silhouette but has just enough little details to make it special.  I didn't want something that would overwhelm the suit or the plaid so I stuck with a solid color and a simple shape.

Vintage wool suit
I love the ruffle neckline and the gathered sleeves.

Vintage wool suit
Sweet, gathered back yoke.

I took some photos indoors because it looked like it was going to rain, but I managed to get out and go to the park when the rain let up.  I much prefer outdoor photos.

Vintage wool suit

Vintage wool suit

Vintage wool suit

Vintage wool suit

Vintage wool suit

Vintage wool suit


A little 40's shoulder pad love

Wednesday, September 18, 2013

Fabric Remorse

I bought the most beautiful purple plaid wool fabric for a project. I have plenty of it. Even though it was expensive, I bought a little bit extra. You know, "just in case". I've made my muslin so I understand the pattern and it fits the way it should but I just can't bring myself to cut into the fabric. It's been sitting on my table for several days just waiting for me to bite the bullet. I'm afraid I"ll mess it up. It is the most expensive fabric I've ever used and also the most beautiful. I had a similar feeling when I was cutting into the fabric for the vintage dress earlier this year. I'd had that fabric over a year, waiting for the perfect pattern. I literally walked away, scissors in hand four times before I was able to make the first cut. This time around, it's even more difficult. I'm considering just hanging the entire 1.5 yards on the wall so I can just look at it every day instead of making a garment that will be outgrown. But, alas, I must persevere. I WILL cut it!