
How to Adjust a Sleeve Pattern: Adding Length and Fullness

Have you ever pulled out a pattern and decided not to make it because it's the middle of winter and you felt ridiculous making a tiny cap sleeve in January? I have a solution! Today, I'm going to show you how to alter any existing sleeve pattern that you already have. I will show you how to lengthen your sleeve to any length you want. Elbow length? Check! 3/4 length? Check! Full Length? Check! I'll also show you how to add some fullness at the wrist if you want but that's up to you.
One of my favorite things about patterns is changing them. Yup! I just said that. I LOVE to change patterns. In fact, I don't think I've ever made the same pattern the same way twice. There is always something that I change. Once you have a basic pattern, simple modifications are easy to make. I'll show you how.

What you need to get started:
- Paper
- Pencil or Marker
- Straight Edge
- Sleeve Pattern
- Arm Measurement
To start off, you want to find the excited recipient of your sewing expertise and measure from the armpit straight down the arm to where you want your sleeve to end. Keep in mind how wide your cuff is on your sleeve pattern and take that into account when measuring. If your sleeve has a 1 inch cuff, and you measure the perfect 3/4 sleeve and add that 1 inch cuff to the end of it... well, you're finished sleeve will be a perfect 3/4 and 1 inch sleeve. Most basic bound sleeves won't make a noticeable difference, however, but it's something to check before you take your measurement to see if you need to make an adjustment for it. I made sure to thoroughly bore my child before taking her photo. Can you tell
After you have that arm measurement use your straight edge to draw a line from the top corner of your sleeve pattern the length of that measurement you just took. Trace the top of your sleeve. Step one complete! I told you this was easy.

Step 2: Extend the line on the other side of your pattern piece right on down. Don’t worry about being precise in how long it is at this point because you’ll use your pattern piece to match everything up in the next step.

Step 3: Slide your pattern piece down that straight edge you just made until the bottom lines up with your line in step one. Your corners aren’t going to meet up. Don’t panic! That’s okay. Ignore it for now and just use the bottom of your pattern piece or a ruler to draw a straight edge connecting your two lines from steps 1 and 2. Now, trace the corner just a bit so that your ruler will have a guide in the next step.

Step 4: Use your ruler to connect the top corner of the sleeve and bottom that you just traced in step 3. Draw a line to connect them.
This is what it will look like when you’re done. If you just want to add length to your sleeve, you’re done! Pat yourself on the back and go sew up your new sleeve and install it just like your pattern directions say. No other modifications needed! You will want to label your sleeve and probably tuck it away with your pattern to use later.

If you also want a fuller sleeve you can follow along to the next couple of steps.
Step 5: To add fullness, you just adjust the width at the bottom of the sleeve. I adjusted mine just 1 inch. You can adjust yours however much you want, though. Play with it! Have fun! But you might want to make a muslin because sometimes it can be hard to visualize the amount of fullness you want on paper. I’ve used this method to add as much as 2 inches before, though.

Step 6: This is really a repeat of step 4. Just redraw that edge by aligning your ruler with the top and bottom corners and draw your edge. Simple!

Step 7: You’ll want to gather your bottom edge to fit into your cuff, but other than that you follow the directions exactly as your pattern tells you to.
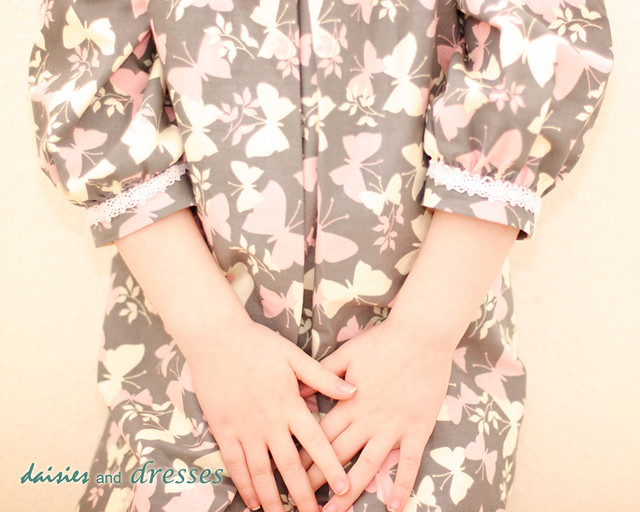
Here are my finished sleeves. The pattern is the Little Bow Pleat Dress from Blank Slate Patterns. It originally had a short little puff sleeve. I turned it into a sweet long sleeved winter dress and left off the bow so that it’s easier to layer under jackets and sweaters.

How big do you make the cuff at the bottom? Do you measure the child's arm and add an inch or so? Too cute!!!
ReplyDeleteThe cuff was part of the original pattern. I added a bit of width to it but the circumference is the same as the pattern from Blank Slate Pattern's Little Bow Pleat Dress.
ReplyDelete